

Overview
Workflows automate work that would otherwise be manual. A workflow starts from a trigger (something happens in Metrifox, or a schedule is reached), then runs one or more automations. Each automation can check conditions and then take actions such as sending an email, posting to Slack, issuing a credit note or assigning a promotional entitlement. Navigate to Workflows in the main menu to see and create workflows.Workflows belong to an environment. Workflows you create in Sandbox are separate from the ones in Production, so you can build and test in Sandbox first. See Getting Started in Minutes for how the two environments differ.
The Workflows List
The list shows each workflow’s name, status, trigger type (Event or Scheduled), the trigger and when it was created. Use the All, Active and Inactive tabs to filter, or search by workflow name.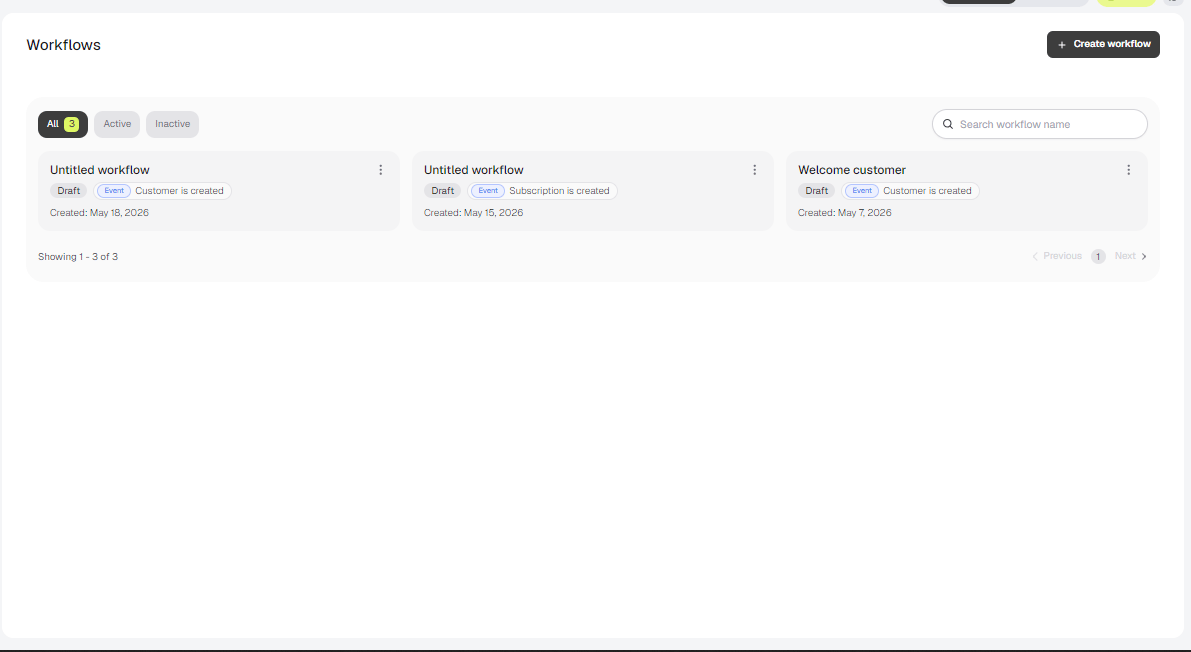
Creating a Workflow
- Navigate to Workflows and click Create workflow.
- Choose how the workflow starts:
- Metrifox events: runs when something happens in your account.
- Schedule: runs at a specific time or on a recurring interval.
- Set the trigger (see Triggers), then click Create workflow.
- In the builder, click Add automation and define what the workflow does (see Automations).
- Use Run test to try it without side effects (see Testing a Workflow).
- Click Publish to make it live (see Publishing and Versions).
Triggers
Event triggers
Select Metrifox events, then choose the event that starts the workflow. Use the search box to find an event quickly.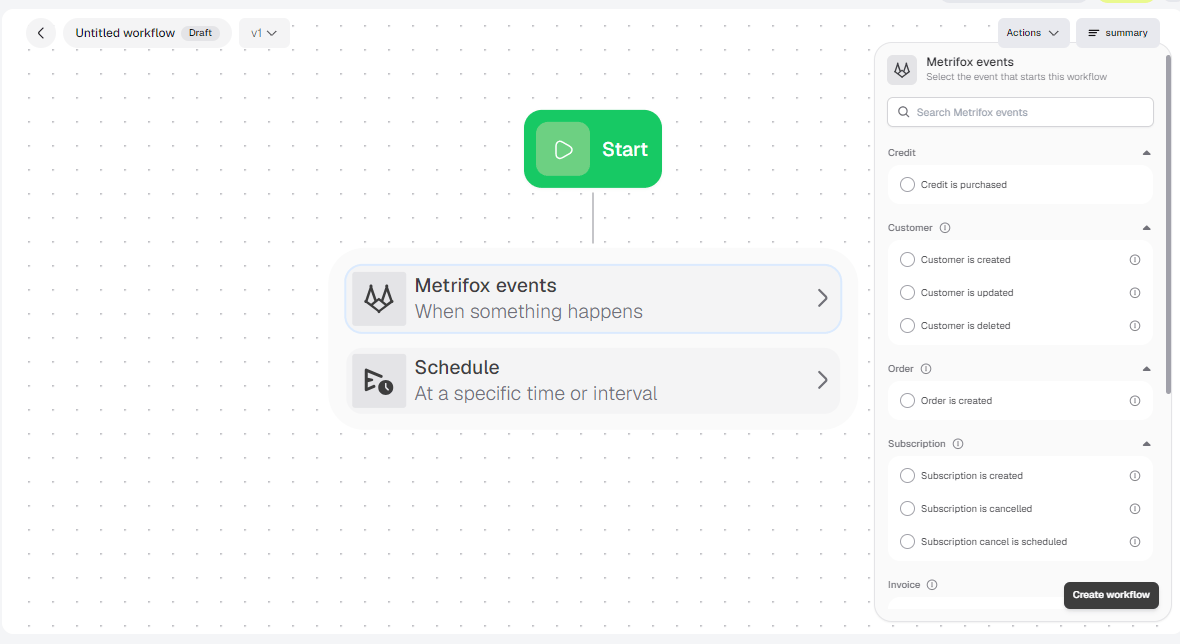
Several of these events are also available as webhooks if you prefer to handle them in your own systems: customer created, updated and deleted, order created, subscription created, cancelled and cancel scheduled, invoice created, and credit purchased.
Schedule triggers
Select Schedule to run a workflow at a specific time or on a recurring interval. Choose a Frequency, then fill in the fields that frequency needs: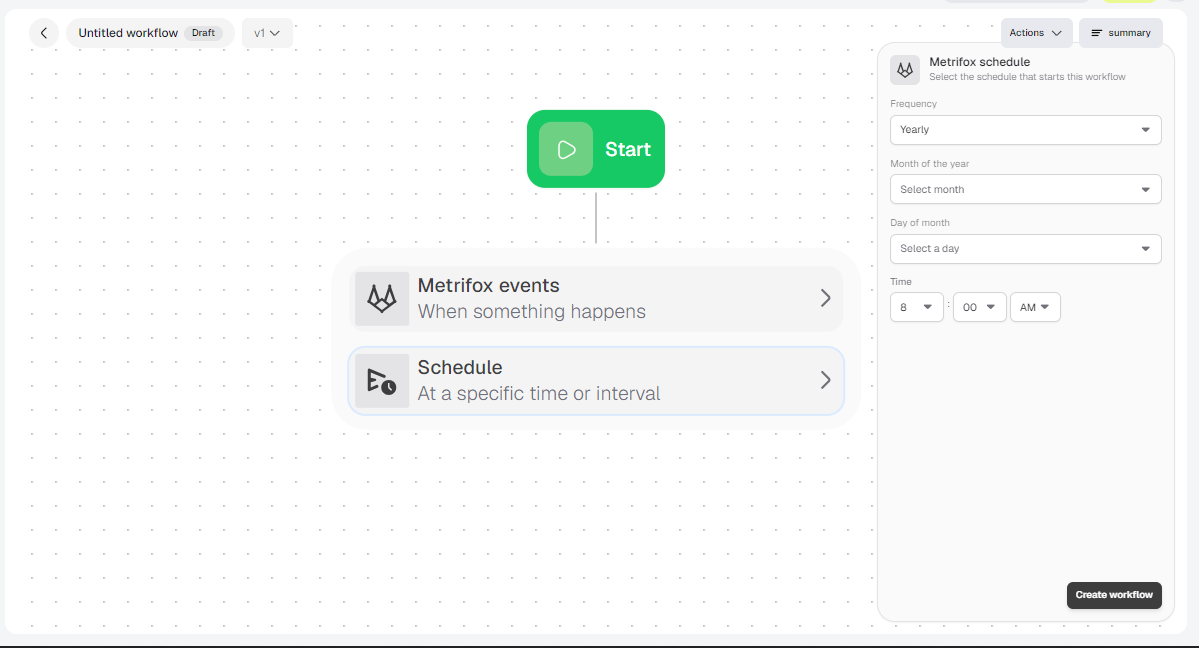
Changing a trigger
You can change a workflow’s trigger later, but doing so deletes all of its existing automations and paths, and deactivates the workflow if it is active. You are asked to confirm before this happens.Automations
A workflow can have several automations, and each one decides independently what to do. Click Add automation to add one, give it a description (for example “Handle onboarding for new Pro customers”), then define its paths. Each automation is made of paths:Conditions
Click Start by adding a condition (If/then) to build a condition. Each condition has three parts:- Field: the value to check. The list is searchable and shows each field’s type. For customer events, it is the fields of the customer record.
- Operator: how to compare it.
- Value: what to compare against.
Click Add another condition to combine checks, joined with AND or OR. Use Add condition group to group related checks. Date fields can be compared with a date picker or with relative dates such as “Start of month” or “7 days ago”.
Actions
After the conditions, click Add actions (or Add a default action for an Always path) and choose what happens. You can add several actions to one path with Add another action. Click Add this flow to save.Using variables
Every text field has an Add variable button. Variables are placeholders that Metrifox replaces with real values from the event that started the workflow when the action runs. They are written like this:primary_email, display_name, customer_key and currency, and workspace figures such as customer_count and active_subscription_count. Use the search box in the picker to find a variable.
For example, a welcome email could use {{context.customer.primary_email}} as the recipient, Welcome, {{context.customer.display_name}} as the subject, and Hi {{context.customer.display_name}}, welcome to our platform. in the body.
Writing emails
The email body has two formats:- Rich text: a visual editor with bold, italic, underline, bullet and numbered lists, headings, quotes and images (paste an image URL and press Enter).
- HTML: your HTML is sent as-is. Use the variable button to personalize it.
Testing a Workflow
Click Run test to try a workflow before you publish it. The test dialog has:- Dry run (skip actual actions): on by default. A dry run goes through the workflow’s logic and shows what would happen, without sending emails, posting to Slack or changing any customer. Turn it off only when you want the actions to actually run.
- Context data: sample data in JSON that the workflow runs against, pre-filled with a sample record for the trigger. Edit any field to test different scenarios.
Publishing and Versions
A workflow is a draft until you publish it.- Click Publish.
- Confirm with Publish draft.
Editing a live workflow
You cannot change a published version directly.- Open the workflow and click Edit.
- Confirm Create draft and edit. Your changes are saved as a new draft version.
- Make your changes, then Publish again.
Deactivating and reactivating
- Deactivate (from Actions or the list’s ⋮ menu) archives the published version. The workflow stops running until a new version is published.
- When you view an archived version, you can choose Activate this version to bring it back, or Go back to published version.
Monitoring Runs
Click Activity on a published workflow to see its Runs. Each run shows its Status (Pending, Running, Completed or Failed), the Rule that ran, its Duration and when it Started. Open a run to see its Action steps, such as who an email was sent to. Until the trigger fires, the page shows “No runs yet”. The Builder tab returns you to the canvas.Deleting
- Delete a workflow from Actions → Delete or the list’s ⋮ menu. This cannot be undone.
- Delete an automation or a path from its trash icon in the builder. This also cannot be undone.
Example: welcome new customers
- Create a workflow with the Customer is created event.
- Add an automation with a Default (Always) path and a Send Email action. Use
{{context.customer.primary_email}}as the recipient and a subject such asWelcome, {{context.customer.display_name}}. - Click Run test with Dry run on and check that the automation completes.
- Click Publish.